Table of contents
- Step-1 In the Azure portal, click the "Create a resource" button and search for "ASP.NET Core Web App."
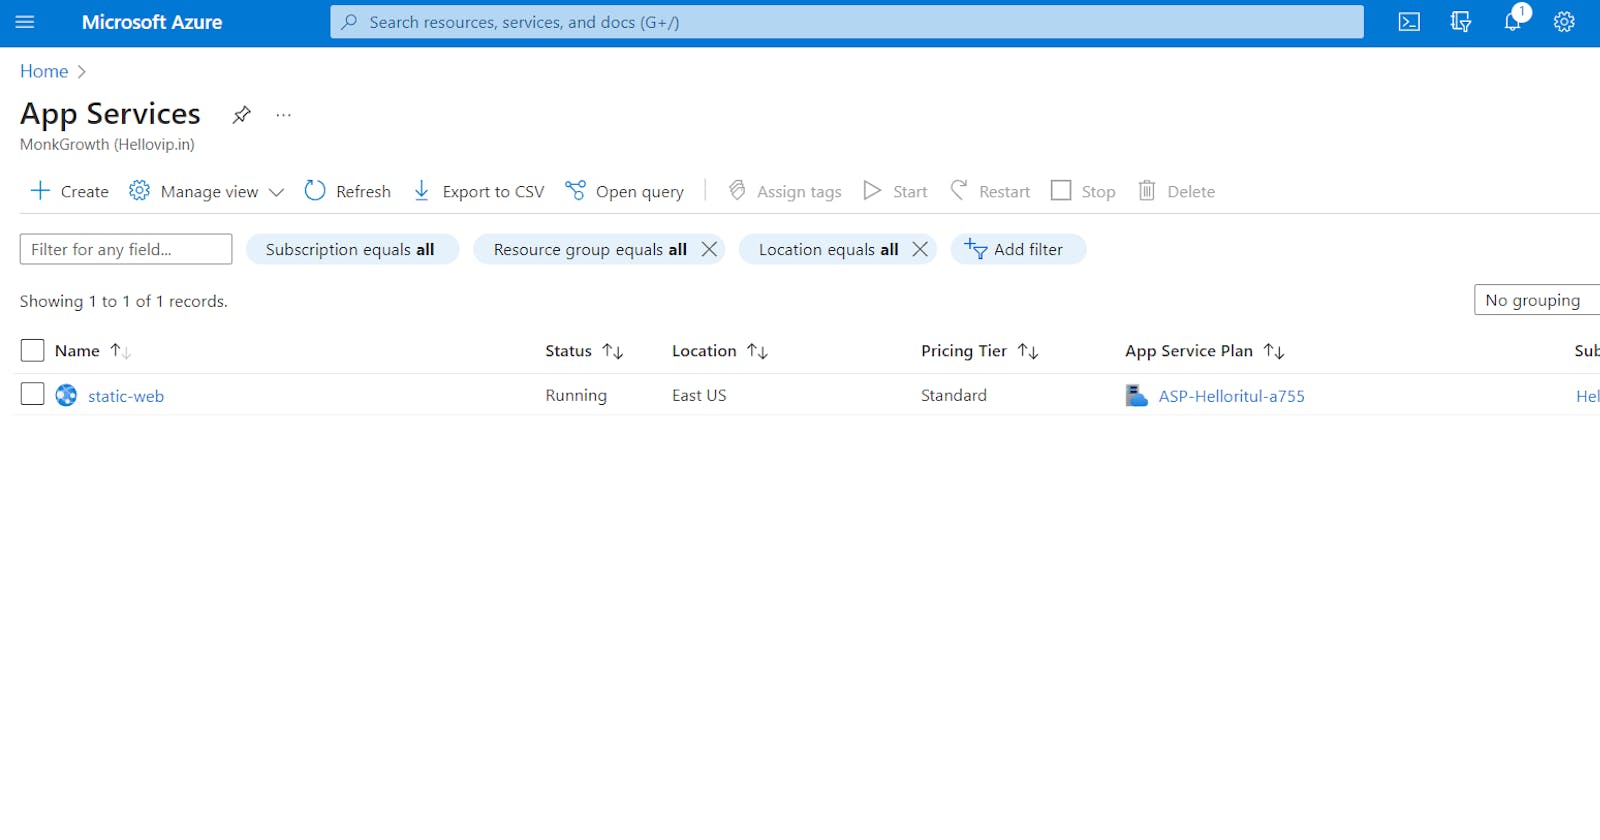
- Step-2 Search for "App Services."
- Step-3 In the "Basics" tab of the "Create web app" dialog, specify the app name, subscription, resource group, and runtime stack. For a static website, you can choose the "ASP.NET" stack.
- Step-4 Once the "web app" is created copy the "Default domain"
- Step-5 And Paste in the browser.
- Step-6 Go to "Visual Studio" and create a new project.
- Step-7 Create a new ASP.NET Core Web Application project in Visual Studio. Choose the "Static Web Site" template from the project templates list.
- Step-8 Follow the instructions for publishing.
- Note:- The version of .NET and the target framework version should be the same.
- Step-9 "IIS Express" should be clicked to run the code locally.
- Step-10 Copy the URL "localhost:44345" to access our code running locally.
- Step-11 Once the project is created, right-click on the project in the Solution Explorer and select "Publish."
- Step-12 Checked the version of the Static Web App in the Azure portal console
- Step-13 We will be deploying to a Windows platform, we need to select the Windows option.
- Step-14 In the Create Static Web App dialog, you'll need to specify a name for your app, choose the subscription you want to use, and select the resource group you want to deploy to.
- Step-15 After you've specified all the settings, click "Publish" to deploy your static website to Azure.
- Step-16 If the deployment process completes without any errors and the website is accessible, we can say that the deployment has been successfully published.
- Step-17 You can browse your website by clicking on the URL link in the Azure portal.
Step-1 In the Azure portal, click the "Create a resource" button and search for "ASP.NET Core Web App."

Step-2 Search for "App Services."

Step-3 In the "Basics" tab of the "Create web app" dialog, specify the app name, subscription, resource group, and runtime stack. For a static website, you can choose the "ASP.NET" stack.

Step-4 Once the "web app" is created copy the "Default domain"

Step-5 And Paste in the browser.

Step-6 Go to "Visual Studio" and create a new project.

Step-7 Create a new ASP.NET Core Web Application project in Visual Studio. Choose the "Static Web Site" template from the project templates list.

Step-8 Follow the instructions for publishing.

Note:- The version of .NET and the target framework version should be the same.


Step-9 "IIS Express" should be clicked to run the code locally.

Step-10 Copy the URL "localhost:44345" to access our code running locally.

Step-11 Once the project is created, right-click on the project in the Solution Explorer and select "Publish."

Step-12 Checked the version of the Static Web App in the Azure portal console

Step-13 We will be deploying to a Windows platform, we need to select the Windows option.

Step-14 In the Create Static Web App dialog, you'll need to specify a name for your app, choose the subscription you want to use, and select the resource group you want to deploy to.

Step-15 After you've specified all the settings, click "Publish" to deploy your static website to Azure.

Step-16 If the deployment process completes without any errors and the website is accessible, we can say that the deployment has been successfully published.

Step-17 You can browse your website by clicking on the URL link in the Azure portal.

I hope this project was helpful to you!
Thanks
